Homepage
You're looking at my blog, you should also check out my homepage!
You're looking at my blog, you should also check out my homepage!
If you’re here for a no-nonsense guide on how to optimize your Godot 4 HTML5 game for file size, click here to jump to it.
Recently, I became a contributor on and started writing a little one-off game in Godot. Now, I had never used Godot before; all the game dev experiece I had was in Unity. I knew the game had to be playable on the web, and I sure as hell wasn’t in the mood to learn React right now, so I decided to use Godot because I could customize the logos on the loading screen. Of course, I ran into a bit of a problem:
While it’s not game-breaking it is experience-breaking. The original concept is to create a game that can capture the attention for at least 15 seconds, if players are forced to wait at least 10 seconds the first time they load the game up, they will probably just leave early.
.wasm FilesThe core
cause of the long loading size was the .wasm file
containing the Godot engine. Weighing in at a whopping 42 MiBs! this is
what was responsible for the long loading times.
The reason this file is so large is because it includes everything required to run ANY Godot game, the default HTML5 export profile includes the entire Godot engine, including all the crap I don’t need like Every Single 3D Class.
For the absurdly simple game I was working on (basically just a UI with some animated sprites) I did not need to include any advanced features.
So, I look into optimizing loading times on HTML5 Godot games. I find
a bunch of very confusing resources first, including a very bad-faith online
service, but I finally locate the
official guide on how to optimize HTML5 exports for size. All the
earlier resources I found before only mentioned scons, now
I can finally figure out what it is and why
it is used,
nevermind, that page is just vehemently defending their use of
scons as if the author was bullied for using it... alrighty
then.
I have no opinion on scons but its the tool I have to
use. Of course, it’s probably one of the least irritating tools I need
to work with, and on that note time to describe my now eternal rage against Emscripten.
So of course, the official guide says that you need Emscripten 3.1.39 or newer, so I pull down the latest stable Emscripten version. This fails. Okay, thats fine, I’ll go down the earliest known-good version of 3.1.39. It fails. . What’s worse is that each attempt is taking at least 5 minutes on my system, usually longer. After some web sleuthing, I find a stray GitHub issue comment that indicates the earliest working version as 3.1.36. This finally works! Thank you random GitHub user, I forever curse the Emscripten developers for introducing regressions in what feels like every goddamn version release.
Now, why did I call this the .wasm Tower of Duct Tape?
As I was trying to get this to work, I kept finding GitHub issues and
discussions for the ENTIRE SUPPLY CHAIN behind Emscripten and Godot,
hence: “Tower of Duct Tape”.
Large software supply chains aren’t inherently bad, but when the link of the chain you’re interested in is the weakest, you’re going to have a bad time.
I’m proud to say that this entire procedure is responsible for about 25% of all my development time for this project at the time of writing. Anyway, on to the guide.
Despite what the documentation says, you actually need to install Emscripten 3.1.36. Versions after 3.1.36 are known to have regressions which prevent compiling.
The Emscripten
Install Documentation works for this version. But note: if you are
on Windows, use the correct script for your shell (i.e
emsdk.ps1 or emsdk.bat)
The best way to install SCons is with pip:
pip install sconsRemember: If you are installing this on windows, you must use a shell running as Administrator
Using Git to download the Godot source code is ideal. Moreover, you
should only pull the version of Godot that you are using. You can look
at the Godot
tags to see the name of the version. This guide is for Godot 4.3 so
we will use 4.3-stable:
git clone https://github.com/godotengine/godot.git -b 4.3-stableTo get the smallest file size, you want to disable all features that you aren’t using in your game. There are two ways to do this, and you should do both:
custom.py file and move it to your Godot source directory.build file somewhere accessible (in the Godot source directory works)In the Godot source directory, run the command:
scons platform=web target=template_release threads=no build_profile=<path/to/build/profile>Note: Be sure to replace <path/to/build/profile>
with the path to the .build file generated in the previous
step. The compilation can take a very long time, when it’s dome your
template will be located at
bin/godot.web.template_release.wasm32.nothreads.zip.
This zip file can be loaded in the “Release” field in the export screen. Be sure to uncheck “Export With Debug” when selecting the file location.
The “Detect from Project” button can be a bit overzealous and remove things you do actually need. You may get error alerts in the browser itself, but most issues will simply result in missing Nodes. Here are some ways you can fix that:
FileAccess will appear as "GDScriptNativeClass" errors)build_profile= part of the scons command. It will result in larger file sizes, but ensure functionality.For those that don't know Kanboard is an open source kanban project management web app.
It's a very useful app for teams trying to organize different projects, but it can take quite some technical expertise to use correctly.
Even though this post goes over my journey for writing a plugin, I have written it so that it can be useful to anyone who is new to writing plugins for Kanboard, skip to guide
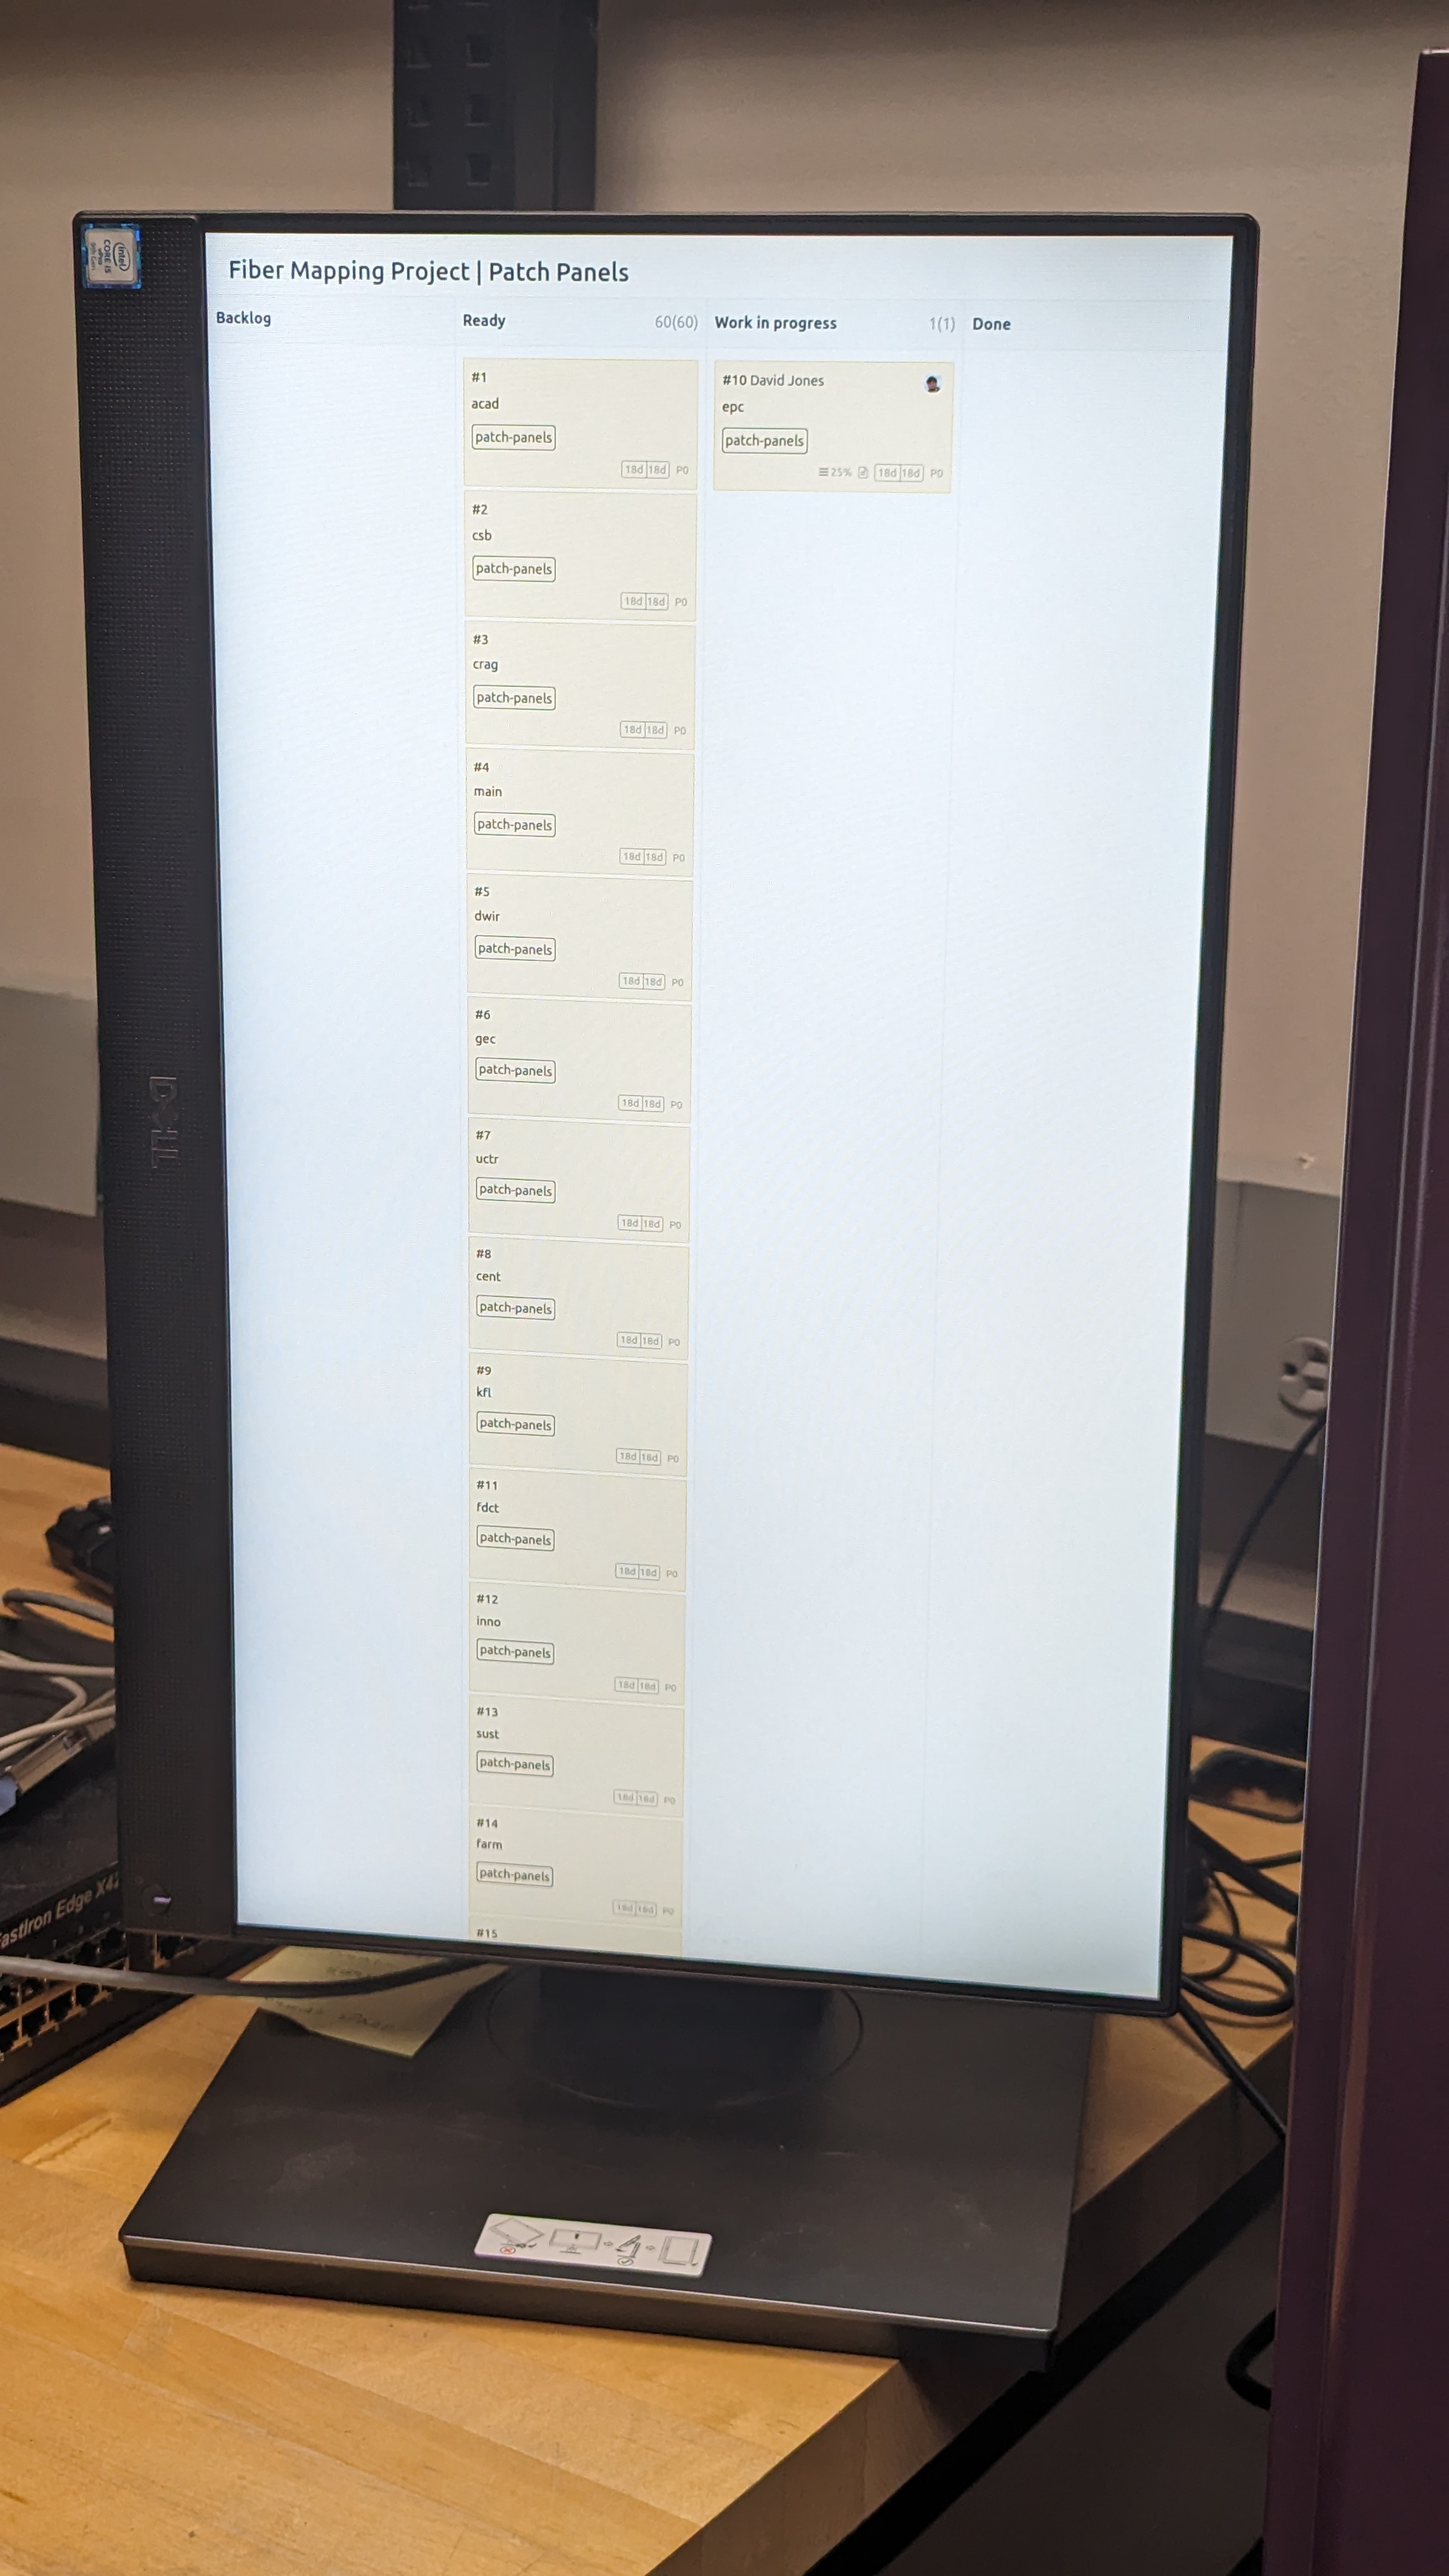
At my workplace, we have very little program/project management. In my efforts to improve this management (and communication between teams) a coworker and I decided to claim a Dell OptiPlex 7470 AIO that was left unused in our staging room and turn it into a public status board for our different projects.
 We cycled through different self-hostable kanban solutions before landing on Kanboard because it allowed some features that we really needed, mostly the public board view.
After setting up the server using the Docker Compose instructions and adding our projects we noticed a problem. The public board view does not show the title of the board!
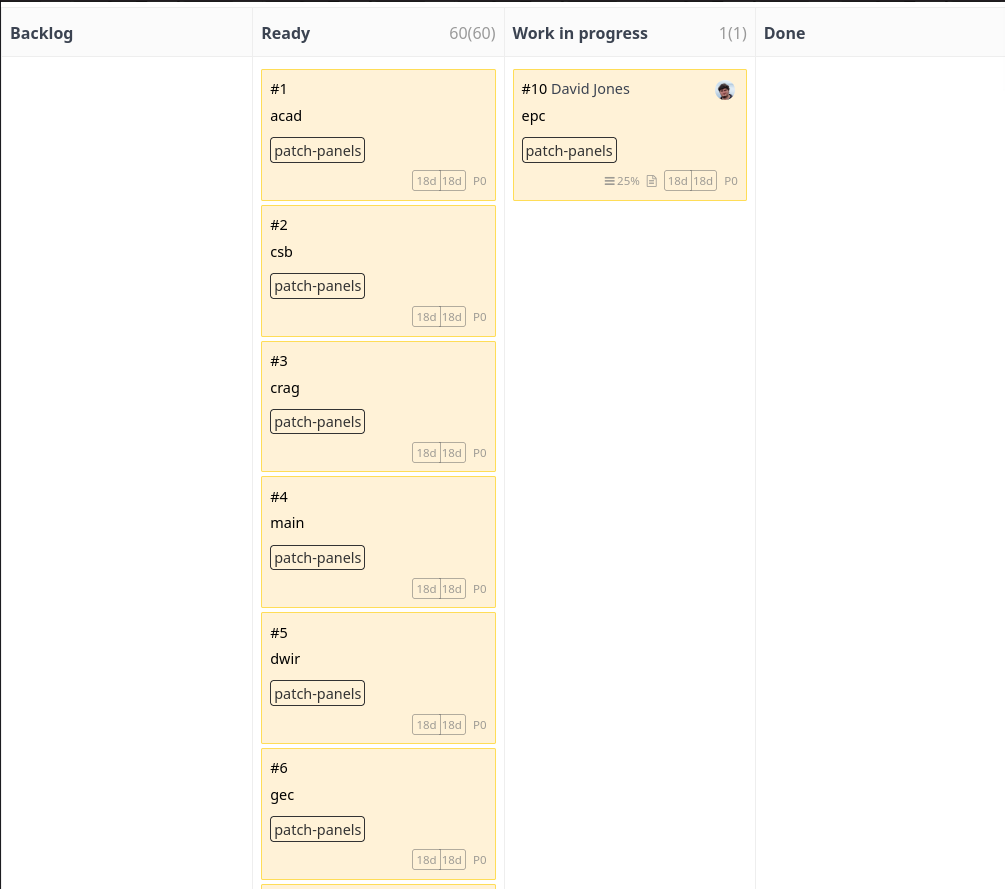 This is a problem, we intended for the boards to be displayed in fullscreen Firefox, meaning that all anyone could see is what you see in the screenshot above.
Fortunately, I am familiar with changing the DOM to do what I want, I thought about writing some JavaScript that would put the project title there, but then I realized that Kanboard supports plugins.
So I started searching for a plugin that would do what I needed, but nobody made a plugin that does what I need. So I decided to write my own plugin, but I had no idea where to start.
Luckily, I found the cookiecutter for Kanboard plugins. This creates a skeleton of a plugin, most importantly it makes the Plugin.php file. This is the most important file as this is what Kanboard looks for when installing plugins.
Here is what Plugin.php should look like, with comments explaining different sections:
<?php

// This defines the internal name of the plugin,
// The last part of the path must match the plugin folder name
namespace Kanboard\Plugin\PluginName;

use Kanboard\Core\Plugin\Base;
use Kanboard\Core\Translator;

class Plugin extends Base
{
    public function initialize()
    {
        // This is where all of the logic of the plugin will go
    }

	// Not strictly necessary, but created by the cookiecutter
    public function onStartup()
    {
        Translator::load($this->languageModel->getCurrentLanguage(), __DIR__.'/Locale');
    }

	// Kanboard Plugins need to expose information about themselves,
	// this is what these functions are for

	// This tells Kanboard what the name of the plugin is
    public function getPluginName()
    {
        return 'Plugin Name';
    }

	// This is a bit of text displayed alongside the plugin name
    public function getPluginDescription()
    {
        return t('Plugin Description');
    }

	// This is the plugin's author
    public function getPluginAuthor()
    {
        return 'Author';
    }

	// This tells Kanboard what version your plugin is
    public function getPluginVersion()
    {
        return '1.0.0';
    }

	// And this can contain any URL and is clickable in the plugin menu
    public function getPluginHomepage()
    {
        return 'https://your.plugin.homepage';
    }
}
Technically, having this file in a folder name PluginName would be a valid plugin loaded by Kanboard. But this doesn't actually do anything, so lets fix that.
The simplest type of plugin you can make modifies the appearance or layout of an existing page.
There are two main ways to make changes to the Kanboard templates: hooks and overrides. Hooks are very useful, but there is a limited number of them and they can't be used to make changes in locations where there is no hook. In general, overrides are more extensible and allow more thorough and detailed changes to the page.
Overrides replace a template file from the base Kanboard app with one of your own. This does mean that only one plugin can override the same template, if two plugins try, only one will be rendered.
Here is an example from Plugin.php in the plugin I developed:
	// Start of Plugin.php...
	public function initialize()
    {
        $this->template->setTemplateOverride('board/view_public', 'PublicHeader:header');
    }
    // Rest of Plugin.php...
Using an override is simple, but it requires checking against the Kanboard template source. The first argument points to the php template file relative to the base Kanboard Template/ directory. In the case of my plugin, I am overriding Template/board/view_public.php. We remove the Template/ part of the path, and the .php file extension from the end.
The second argument tells Kanboard what is replacing board/view_public, we need to provide the namespace of the template file, in this case it is PublicHeader:. After the colon, we need to give it the path to the new template file, in this case the path from my plugin root is Template/header.php. Because this function only acts on templates, we also remove the Template/ part of the path, as well as the .php file extension.
Templates are .php files containing a mix of HTML and PHP. When you write templates for your plugin they must be placed inside the PluginName/Template directory tree in order for the plugin to find them.
In the case of overrides, you are completely replacing the original content of the template, if you wish to keep this content, you need to include it in your file. Fortunately Kanboard is open source, so all the base templates are available to read and copy.
In the case of my plugin I am overriding Template/board/view_public.php. My plan is to add a title to the top of the page, In the end my Template/header.php will look like this:
<div class="public-board-title" style="margin-left: 1.5rem;">
    <h2><?= $project['name'] ?></h2>
</div>

<section id="main" class="public-board">

   <?= $this->render('board/table_container', array(
            'project' => $project,
            'swimlanes' => $swimlanes,
            'board_private_refresh_interval' => $board_private_refresh_interval,
            'board_highlight_period' => $board_highlight_period,
            'not_editable' => true,
    )) ?>

</section>
Here we can see the div containing my title element, and below that is the full content of the base template I am overriding.
As you can see in my header.php file, I am accessing the variable $project['name']. Unfortunately, there isn't a reference online for the different variables available. I knew that $project was an option because it is used in the base template. You may need to check the Kanboard source code in order to find what variables you have access to inside your template.
Finally for my plugin, I needed to figure out how to access the project name, it may seem obvious to access the 'name' element inside the $project variable, but that's only because you are able to see the solution in front of you. When I was writing this template I had no idea what the data type of $project was at first.
I quickly learned that $project is an array, but because I am new to PHP, I did not know that arrays can behave like arrays or dictionaries depending on how they are created. In this case the easiest way to see what the array contains and how to access them is to dump the full contents of the array as a string into the spot where the title would have gone. This helped me figure out what the structure of $project was and how to access specifically the projects name.
I think that writing a very simple plugin is the best way to learn how to write plugins. If you need to write a plugin more complex than just template changes, it is a good idea to read the documentation to see if you can learn the components you need to write your plugin.
You can also ask questions on the Kanboard forum to get expertise from those with far more knowledge of Kanboard's inner workings and plugin development.
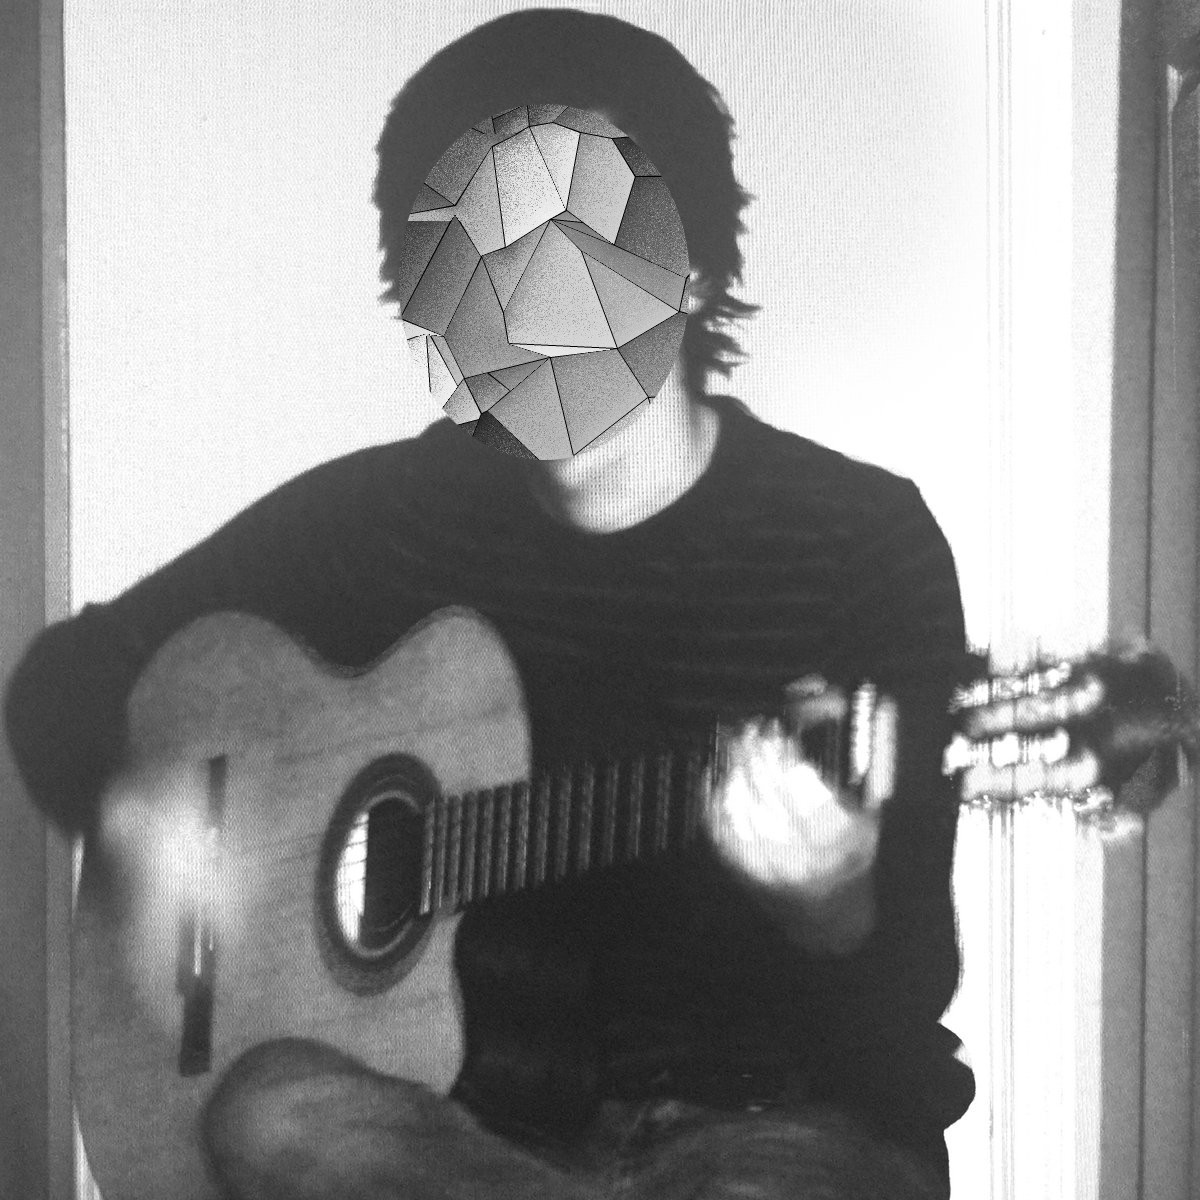 LSD Allenii is the pseudonym of a musician who made music from his room which garnered him a community who loved his music. His music has been described as ethereal, reverb-washed, psychedelic, indie pop.In March of 2023 he deleted all of his music and videos off of the internet.This post describes the efforts to archive his music.LSD Allenii deleted his music to improve his online privacy. Please respect his decision by not harrassing him. ## Archival EffortsOur current efforts to archive Allenii's music is currently available on the archive website. .### Initial SuccessA few weeks after the music was first deleted, I discovered that most of the music published on his Bandcamp page had been archived by the Wayback Machine.I was able to pull the music from the archived or live bcbits Bandcamp content delivery network links and was able to recover the following albums:- Mouthbreather Diary- PICTURES- humility (EP)- Demos #3 (EP)- Demos #2 (EP)- Demos #1 (EP)At this time, I was aware of the album A Second Guessing but this was not archived by Bandcamp.I also had a copy of the music for the single QUIET from before it was deleted.I was unable to find more music immediately available online, so I left contact information in the archive so that others could find me with the hopes that someone who purchased or downloaded missing tracks would be able to provide them.### Later AdditionsStarting in October 2023, I was contacted by someone who had found the original music video for mode eleven that was published to Allenii's YouTube channel. For future reference this contributor will be referred to as Anonymous Contributor 1 Having new material to add to the archive inspired me to search further. Where I then discovered the album Will to Be True , which was only visible on a single archived Bandcamp profile page. I wasn't able to get any music, but I was able to obtain the name and album art. Knowing what we were missing was crucial to ensuring the archive was complete.Anonymous Contributor 1 contacted me back reporting that they found a 3rd party music video for the track Any Second Now from the Will to Be True album that had been uploaded by the artist Ben Lunato . This was added to the archive.Later investigations from Anonymous Contributor 1 turned up an archive of all the songs that Allenii had uploaded to his Soundcloud.Through some connections, Anonymous Contributor 1 was able to then find the original FLAC quality tracks for the Will to Be True and A Second Guessing albums.Later, in January 2024 I was contacted by someone new (Anonymous Contributor 2 ) who had managed to get many singles and even unreleased tracks that Allenii had made. Anonymous Contributor 2 stated that they had previously spoken with Allenii, which is how they were able to obtain the unreleased tracks.Finally, one of the people who had joined the search by doing research on Bandcamp (Anonymous Contributor 3 ) was able to find the Bandcamp track ids for 2 unarchived albums: LSD Allenii (EP) and Shut Up (EP) .To explain how this works, Bandcamp has 2 type of Content Delivery Network servers, bcbits and popplers5. bcbits links will often expire and are generated on the fly to serve content to clients closer to the server, but popplers5 has permanent links, and generates new bcbits links. If you know the popplers5 track ID, you can find the music even if the Bandcamp page was deleted. This is because people who had purchased music through Bandcamp still have a right to stream & download it after the purchase.Anonymous Contributor 3 obtained access to a very large database of track names, artist names, and popplers5 track IDs. Performing a query on the database for tracks by LSD Allenii allowed them to find the files still on Bandcamp, as well as other information and metadata.### How do we know its complete?A few weeks after the most recent addition, LSD Allenii reached out to me and requested that the archive is placed under a pseudonym so that all links to him personally are broken. Out of respect for his privacy, I share my message history with Allenii, but he did say that we were able to recover all of his music.You can view the complete discography listing on the archive website. ## Current StatusComplete, not completely public.Right now, some music videos are not present on the archive because they contain information that Allenii requested be removed. They will be added as soon as I have properly censored them to protect Allenii's privacy.